


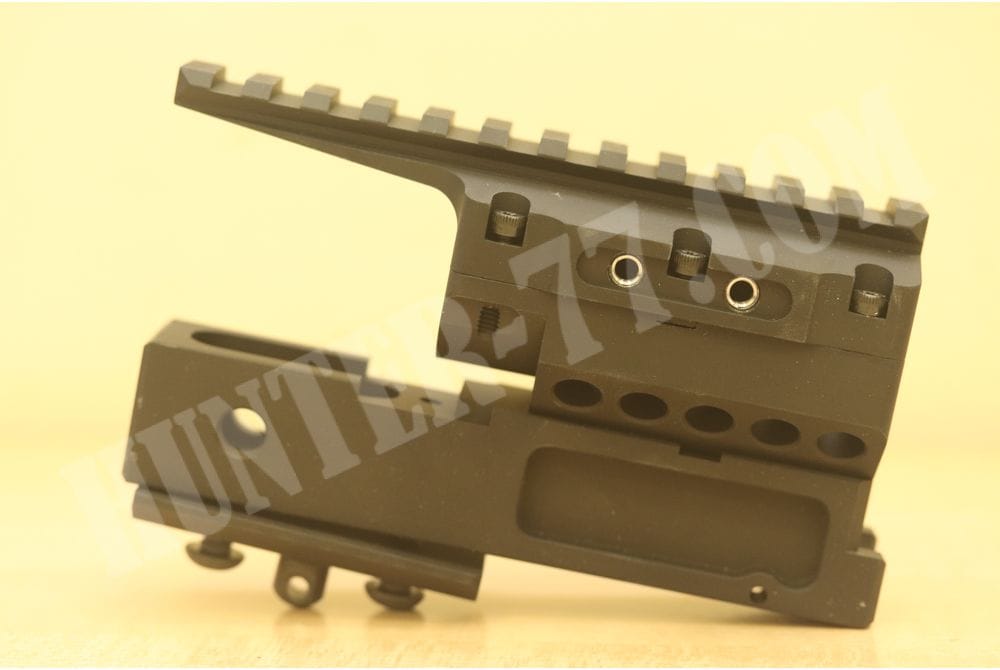
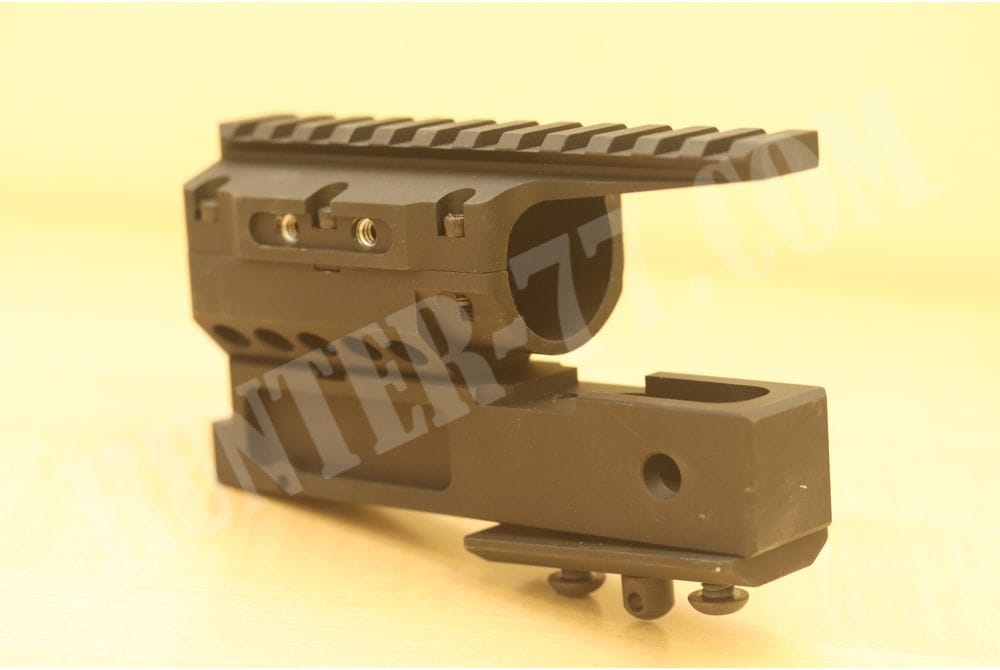
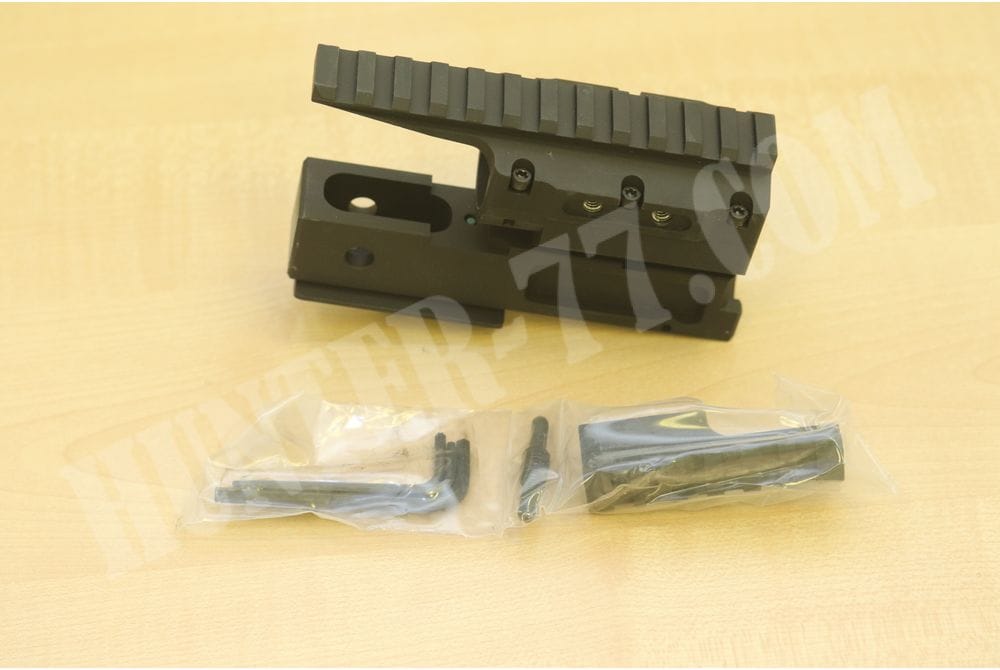
Badger Ordnance IMUNS 310-10 310-20 for Accuracy International


- Brand: Badger Ordnance
- Availability: Out Of Stock
- Product Code: 152
- Как определить размер
Available Options
|
Доставка
|
|
Покупка Если есть надпись "В корзину" - значит товар в наличии в Москве. |
|
Защита покупок Весь товар новый, контрактный, оригинальный. |
Badger Ordnance IMUNS 310-10 310-20 for Accuracy International USA
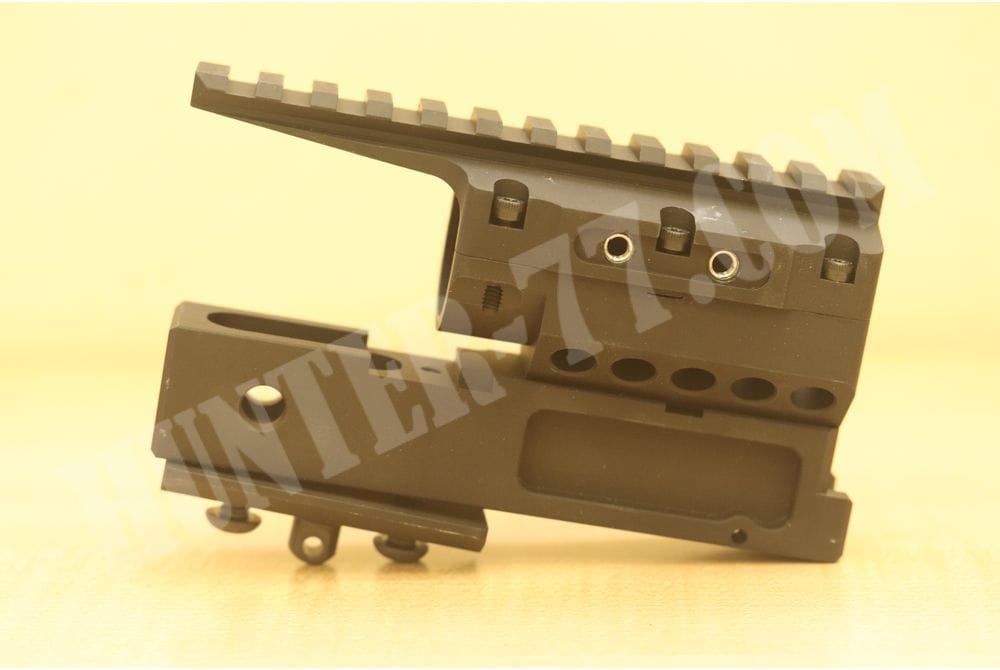
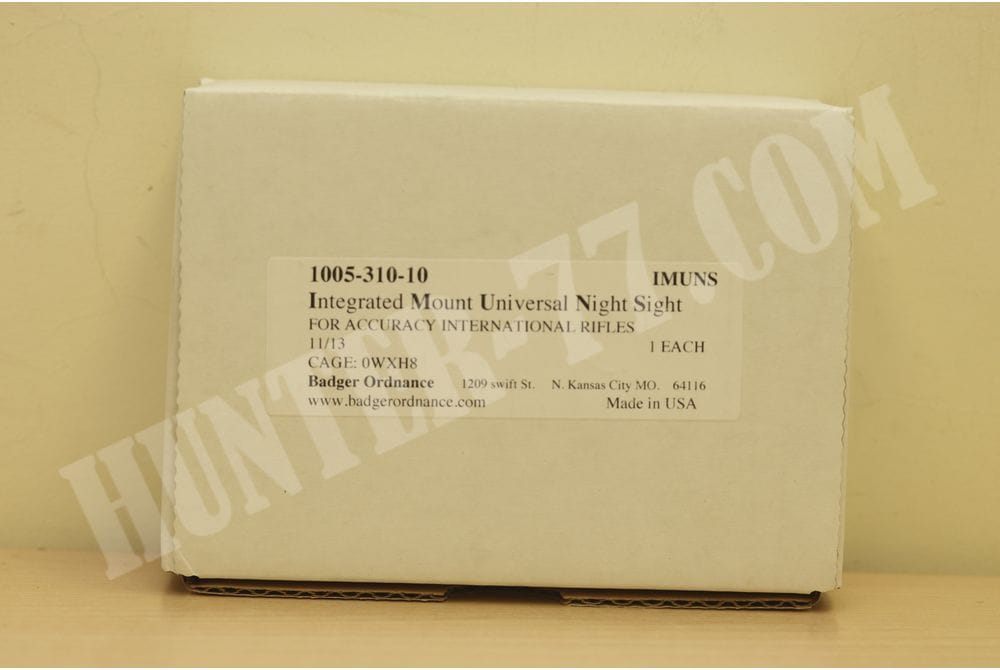
Насадка для ночной оптики Badger Ordnance IMUNS для Accuracy International AE AW AICS AT
P/N 310-10 O/Flat rail
P/N 310-10-20 20 MOA rail
P/N 310-10-AI AT 0/Flat для AI AT
P/N 310-10-AT-20 20 MOA lдля AI AT
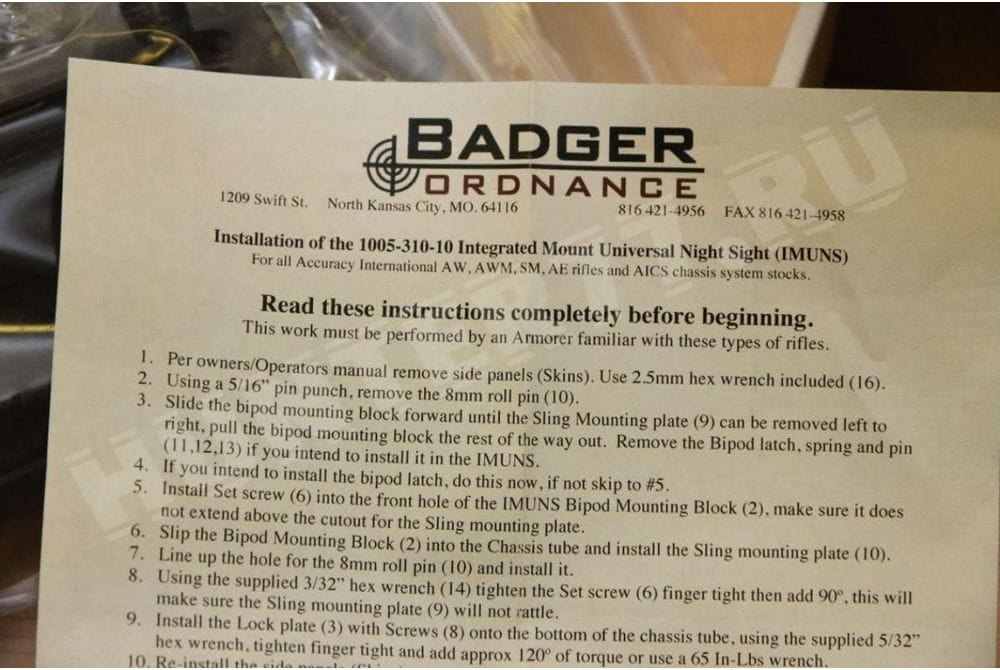
Installation of the 1005-310-10 & 310-20 Integrated Mount Universal Night Sight (IMUNS)
For all Accuracy International AW, AWM, SM, AE rifles and AICS chassis system stocks.
Read these instructions completely before beginning.
This work must be performed by an Armorer familiar with these types of rifles.
1. Per owners/Operators manual remove side panels (Skins). Use 2.5mm hex wrench included 16).
2. Using a 5/16” pin punch, remove the 8mm roll pin (10).
3. Slide the bipod mounting block forward until the Sling Mounting plate (9) can be removed left to
right, pull the bipod mounting block the rest of the way out. Remove the Bipod latch, spring and pin
(11,12,13) if you intend to install it in the IMUNS.
4. If you intend to install the bipod latch, do this now, if not skip to #5.
5. Install Set screw (6) into the front hole of the IMUNS Bipod Mounting Block (2), make sure it does
not extend above the cutout for the Sling mounting plate.
6. Slip the Bipod Mounting Block (2) into the Chassis tube and install the Sling mounting plate (10).
7. Line up the hole for the 8mm roll pin (10) and install it.
8. Using the supplied 3/32” hex wrench (14) tighten the Set screw (6) finger tight then add 90º, this will
make sure the Sling mounting plate (9) will not rattle.
9. Install the Lock plate (3) with Screws (8) onto the bottom of the chassis tube, using the supplied 5/32”
hex wrench, tighten finger tight and add approx 120º of torque or use a 65 In-Lbs wrench.
10. Re-install the side panels (Skins) per owners/Operators manual.
11. The top of the IMUNS (1) can removed with the supplied T-15 Torx wrench (17) for installation of the
barreled action (AICS stocks) or to extend the rail to the front or rear, re-install Screws (6) finger tight
plus 90º.
12. The Side rail (4) and its screws (5) may also be installed to fit your specific requirement.
Name P/N Qty
Rail, IMUNS Reversible Top 1 1 Ea.
IMUNS, Bottom/Bipod Mounting Block 2 1 Ea.
Plate, Lock 3 1 Ea.
Rail, Side 4 1 Ea.
Screw, SHCS 10-24X 5/8 5 2 Ea.
Screw, Set 10-32 X .25 soft point 6 1 Ea.
Screw, SHCS 6-32X.5 7 6 Ea.
Screw, BHCS 1/4-20 X 5/8 8 2 Ea.
Plate, Sling Mounting (already in your stock) 9 1 Ea.
Pin, Roll 8mm (already in your stock) 10 1 Ea.
Pin, Roll 3mm Bipod latch (already in your stock) 11 1 Ea.
Latch, Bipod (already in your stock) 12 1 Ea.
Spring, Bipod latch (already in your stock) 13 1 Ea.
Items Not shown
Wrench, Hex 3/32" for screw #6 14 1 Ea.
Wrench, Hex 5/32" for screw #8 & #5 15 1 Ea.
Wrench, Hex 2.5mm for Stock skins 16 1 Ea.
Wrench, Torx T15 for Screw #7 17 1 Ea.
Copyright Badger Ordnance 2011
1209 Swift St. N. KansasCity, M O . 6 4 1 1 6
816 421-4956 FAX 816 582-4958
Web site:www.badgerordnance.com
9
10
4
5
7
1
6
8
2
3
11
12
13
AI Front stock tube
Exploded view of the 1005-310-10 IMUNS
| Specifications | |
| Country | USA |


